WSL+K3d: Interop K3s is here!
Introduction
This year, I had the chance to participate to KubeCon europe and one of the (huge) takeaways was: K3d
While this could be “yet another” Kubernetes (K8s) cluster creator for development environments, it has 3 main advantages for my setup (remember, I live and breath in WSL):
- K3d creates a K3s, and not K8s, cluster inside docker containers, making it “non-intrusive” and easier to use from a WSL distro that is already connected to the Windows docker daemon.
- While it creates a one-node master, à la minikube, it actually allows us to directly add workers, and this is dope!
- The options to create a cluster allow us to change ports both for the API and the cluster, meaning that with a basic script we could spun several clusters for different needs.
Pre-requesites
Here is the list of the pre-requisites to make k3d run in WSL:
- Install WSL on Windows 10
- Install Docker desktop for Windows
- Install npiperelay.exe
- Install kubectl on WSL
[Optional] Pengwin: the easy setup
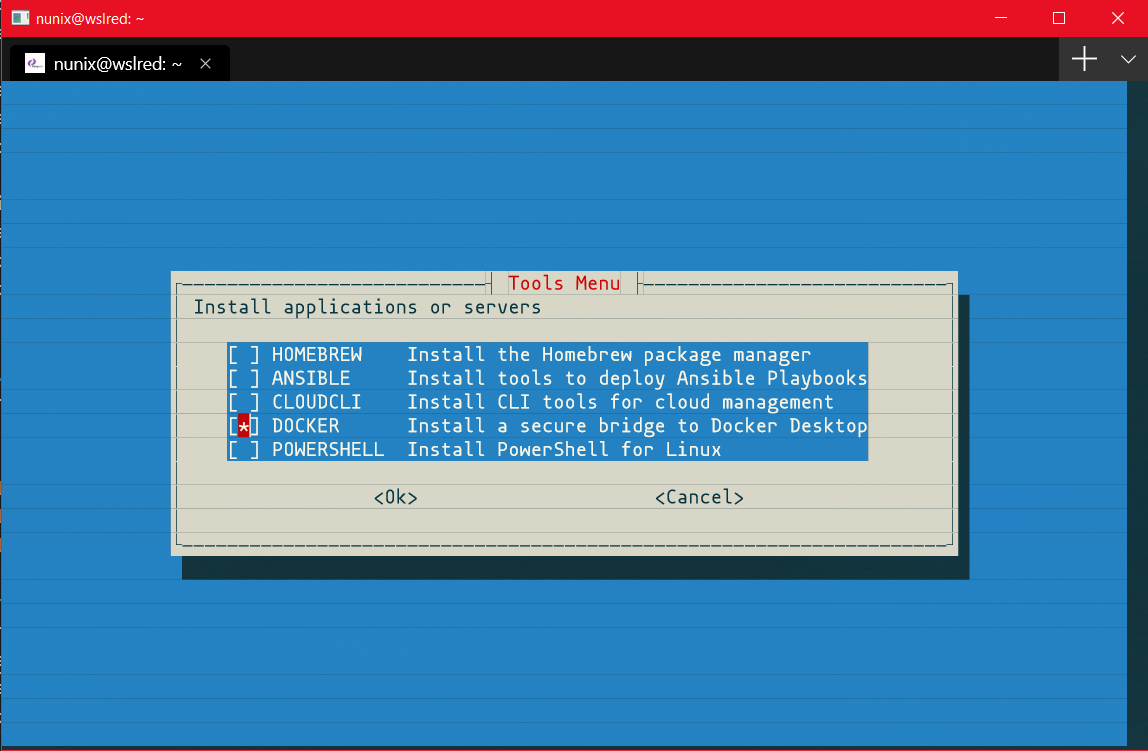
If you own the Pengwin distro, you can install the “Docker bridge” as follow:
- Launch the
pengwin-setupscript - Choose the
Toolsmenu by pressing the space bar
- Choose the
Dockermenu by pressing the space bar
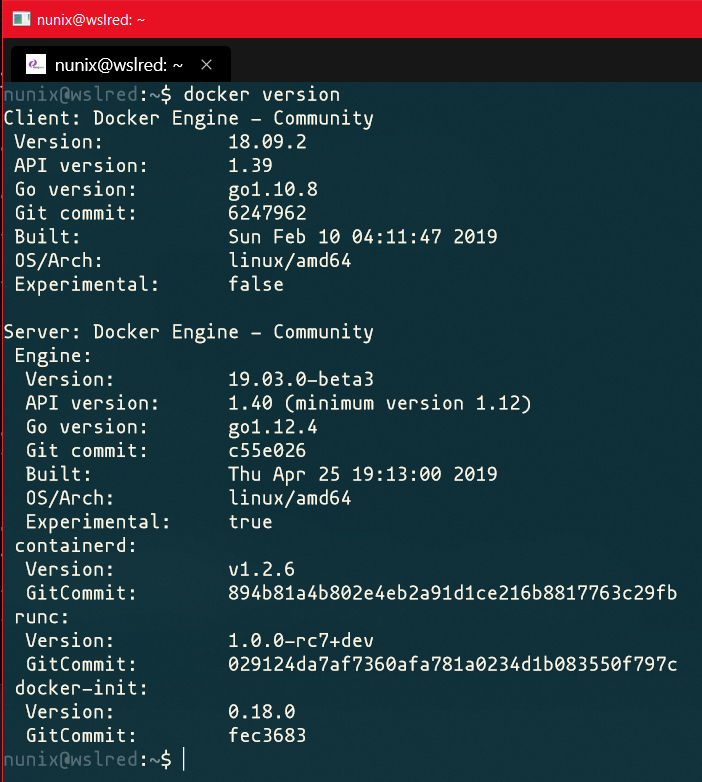
- Once the install is completed, open a new instance
- Type
docker version
Install K3d
Now that the base is installed, the installation of k3d is actually very basic.
As described on the github page, the easyiest way is to run the install script:
### Run the script with Wget
wget -q -O - https://raw.githubusercontent.com/rancher/k3d/master/install.sh | bash

### or with Curl
curl -s https://raw.githubusercontent.com/rancher/k3d/master/install.sh | bash

Important:
when running scripts from Internet, please always review them first.
And concerning this script, as you may have noticed, do not run it as root, as it will only need root access in order to add it to the /usr/local/bin path.
Have fun creating K3s clusters …
Everything is now set, so it’s time to test the environment:
### Check k3d version
k3d --version

### Create the first cluster > the name parameter is optional
k3d create --name wslk3s

### Set $KUBECONFIG to the config file created by k3d
export KUBECONFIG="$(k3d get-kubeconfig --name='wslk3d')"

### Check that the cluster is running
k3d list
kubectl cluster-info

### Additional checks
kubectl get pods --all-namespaces
kubectl get services --all-namespaces

… and cleanup the resources
If creating a cluster is fast and quite easy, deleting it is even easier:
### Check the name of the active cluster
k3d list

### Delete the active cluster
k3d delete --name wslk3d

### Confirm that the cluster has been correctly deleted
k3d list
kubectl cluster-info

Conclusion
During the whole KubeCon I was creating and deleting clusters for the different workshops and/or demos.
And based on how I used it, this would be the “real” lesson learned and advice I can give: use k3d like you would use any container.
The goal is to rapidly reproduce an environment and therefore, delete it in order to cleanup the resources.
I hope you will have as much fun as I did and stay tuned for bonus sections.
>>> Nunix out <<<