WSL2+ZFS: High 5 from the Kernel
Introduction
WSL and ZFS in the same sentence? Clickbait! … well, if it was just few months ago I would have said: totally.
But we are “in the now”, and not only you will see it applied, but we will move to the Linux Kernel 5.x version (stream?).
Should I go on or it’s enough that you want me to shut-up and just show the how-to? That’s what I thought.
Follow the Corsair into this brand new Ocean.
Prerequisites
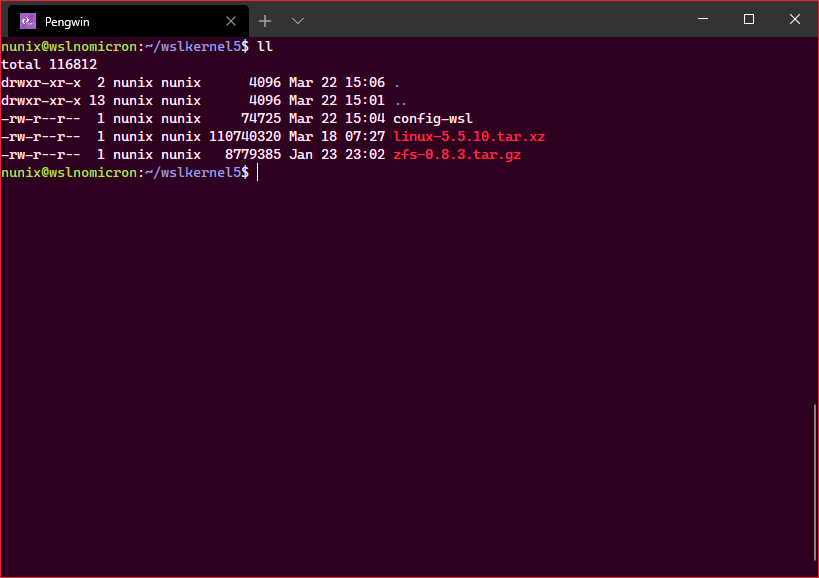
As usual, here is the full list of the prerequisites:
- Windows 10 Insiders Fast v19587+
- WSL2 enabled and a distro installed - I will use Pengwin during this howto
config-wslkernel config file from the WSL2 Kernel repo- The latest stable Kernel - 5.5.10 at the time of the writing
- The latest ZFS source - v0.8.3 at the time of the writing
Kernel 5.x: WSL is Linux
In order to be able to use ZFS, we first need to build a Kernel containing the module. So before continuing, ensure you have downloaded the prerequisites.
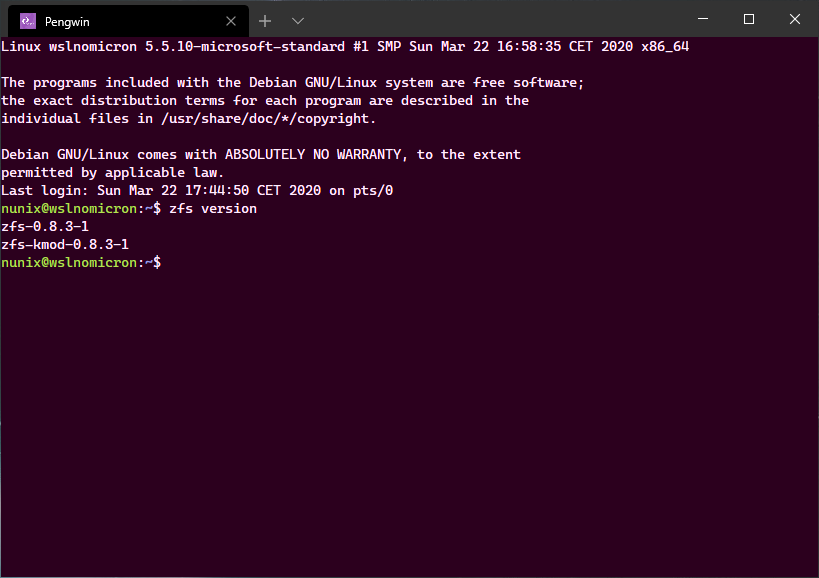
Let’s login into our WSL2 shell:
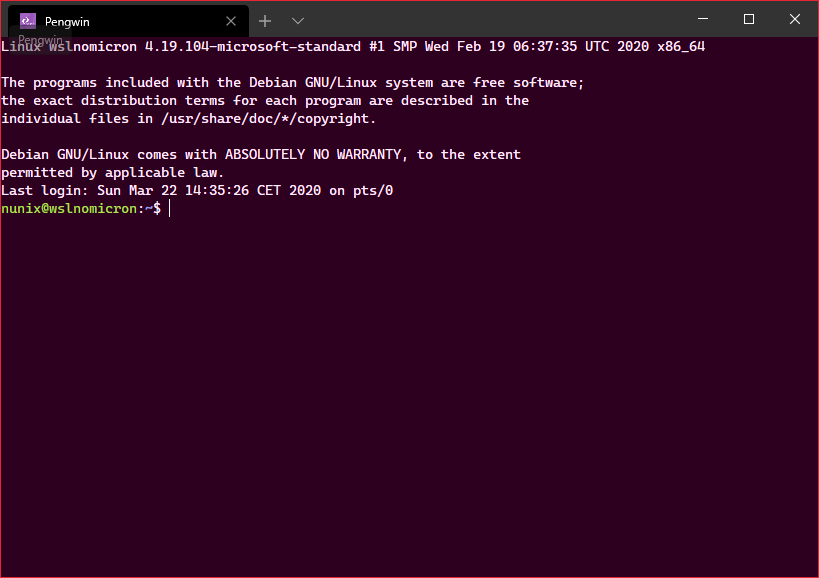
As shown in the screenshot, Pengwin actually displays which Kernel we are currently running on.
If you do not see it or you are using another distro, then type uname -a to see it.
Before we build the Kernel, we need first to add the ZFS module.
ZFS: building the zeta module
Before we can build the module, we need, well, build tools and the potential dependencies.
Thankfully, the OpenZFS community is incredible, and an howto has already been done for an older version, so we will need to adapt it a bit. Let’s go into our WSL2 shell:
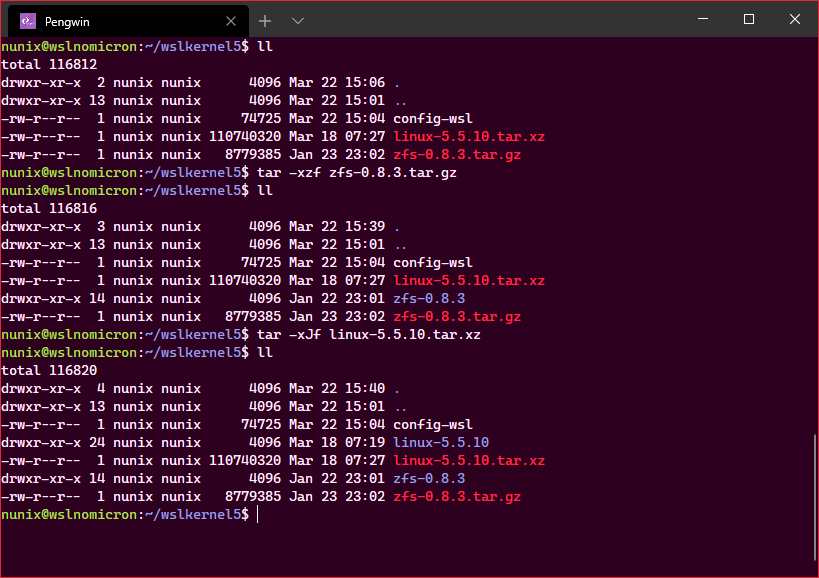
# Extract the ZFS archive
tar -xzf zfs-0.8.3.tar.gz
# Extract the Kernel archive
tar -xJf linux-5.5.10.tar.xz
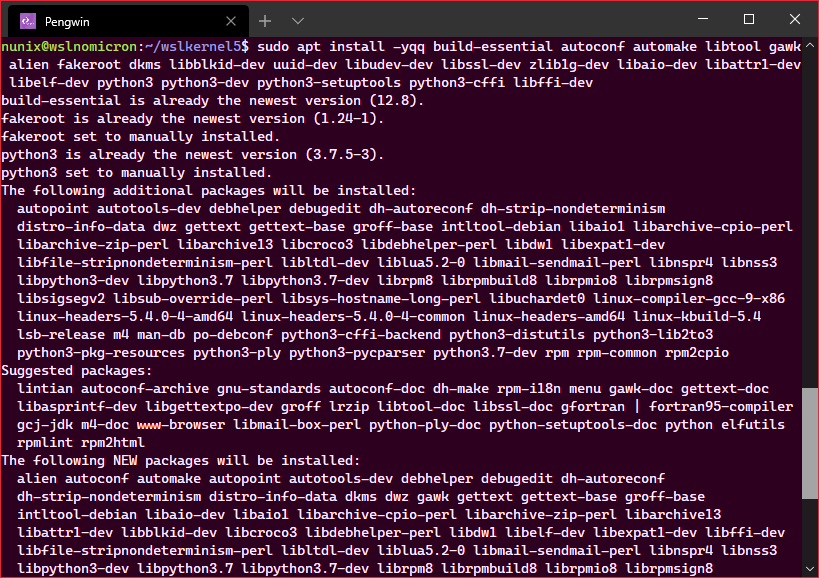
# Install the build tools and the dependencies
sudo apt install -yqq build-essential autoconf automake libtool gawk alien fakeroot dkms libblkid-dev uuid-dev libudev-dev libssl-dev \
zlib1g-dev libaio-dev libattr1-dev libelf-dev python3 python3-dev python3-setuptools python3-cffi libffi-dev flex bison
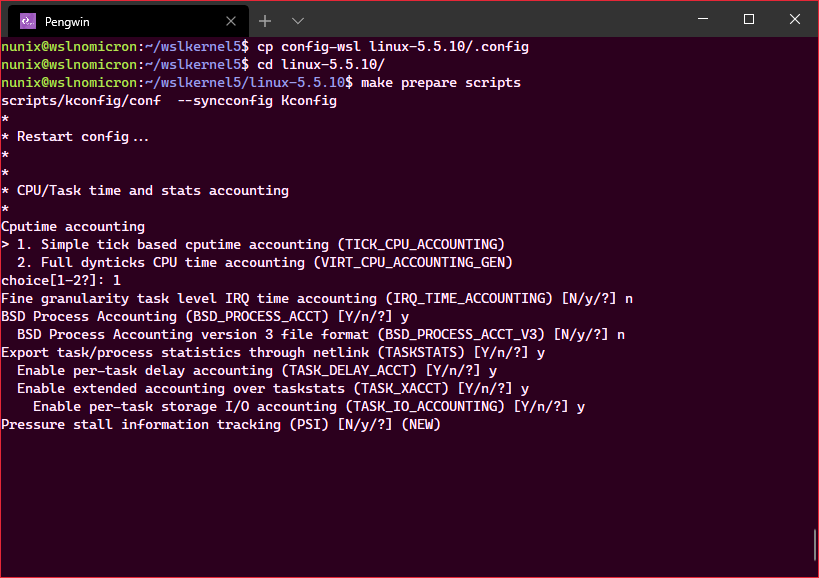
Once the packages installed, we need first to copy the config-wsl inside the Kernel source and run make prepare scripts:
# Copy the config-wsl file
cp config-wsl linux-5.5.10/.config
# Enter the kernel directory and prepare the scripts
cd linux-5.5.10
make prepare scripts
# Here is the full list of the options and the answers I gave which where not the default > feel free to answer to differently based on your own knowledge
TSX enable mode
> 1. off (X86_INTEL_TSX_MODE_OFF) (NEW)
  2. on (X86_INTEL_TSX_MODE_ON) (NEW)
  3. auto (X86_INTEL_TSX_MODE_AUTO) (NEW)
choice[1-3?]: 1

vsyscall table for legacy applications
  1. Full emulation (LEGACY_VSYSCALL_EMULATE)
  2. Emulate execution only (LEGACY_VSYSCALL_XONLY) (NEW)
> 3. None (LEGACY_VSYSCALL_NONE)
choice[1-3?]: 1

IPv4/IPV6 bridge connection tracking support (NF_CONNTRACK_BRIDGE) [N/m/y/?] (NEW) y

DM "dm-mod.create=" parameter support (DM_INIT) [N/y/?] (NEW) y

Virtio Filesystem (VIRTIO_FS) [N/m/y/?] (NEW) y

UTF-8 normalization and casefolding support (UNICODE) [N/y/?] (NEW) y
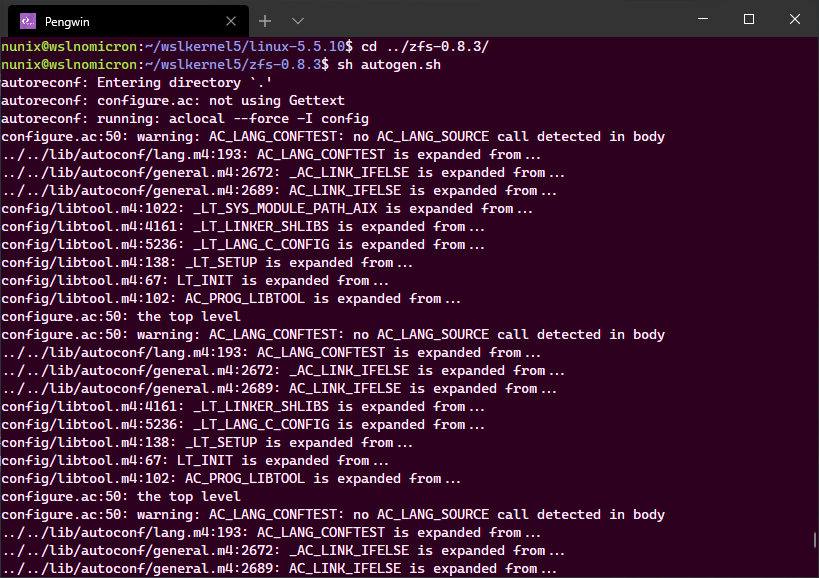
Once the prepare finished, we can build the ZFS module:
# Enter the ZFS directory
cd ../zfs-0.8.3/
# Run the autogen.sh script
sh autogen.sh
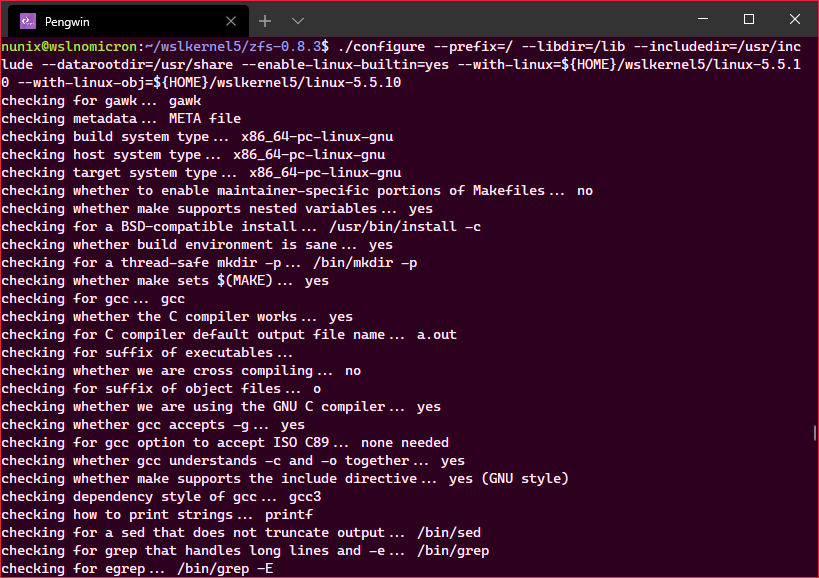
# Run the configure script
./configure --prefix=/ --libdir=/lib --includedir=/usr/inc
lude --datarootdir=/usr/share --enable-linux-builtin=yes --with-linux=${HOME}/wslkernel5/linux-5.5.10 --with-linux-obj=${HOME}/wslkernel5/linux-5.5.10
# Run the copy-builtin script
./copy-builtin ${HOME}/wslkernel5/linux-5.5.10
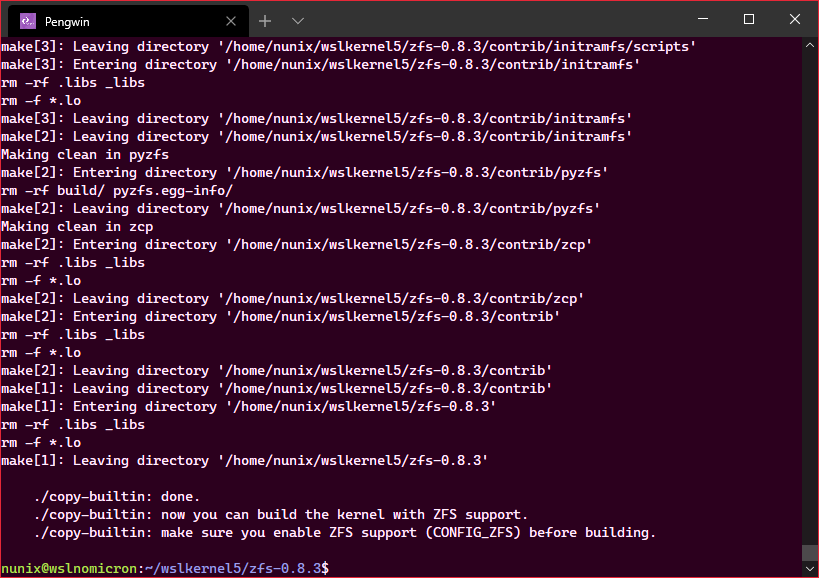
The module has been added to the Kernel sources and we can now enable it.
But before we do that, with all the work done, let’s install the ZFS binaries:
# Build ZFS
make
# Install the binaries in your system
sudo make install
# Run the command zfs to see if it's installed and show the help
zfs
# Try to see which version is installed
zfs version
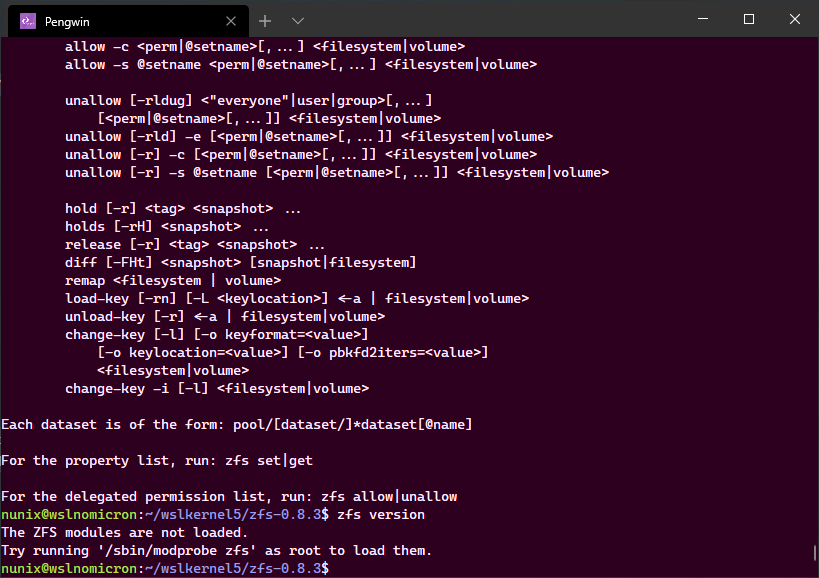
And an error appeared, but that’s OK. This is “good” error and we will fix it in the next section.
Kernel: build the future
We are finally back on the “kernel building track”, and before we can run the so much wanted make (and have a more or less long pause), let’s first change the config file and add the reference to the ZFS build:
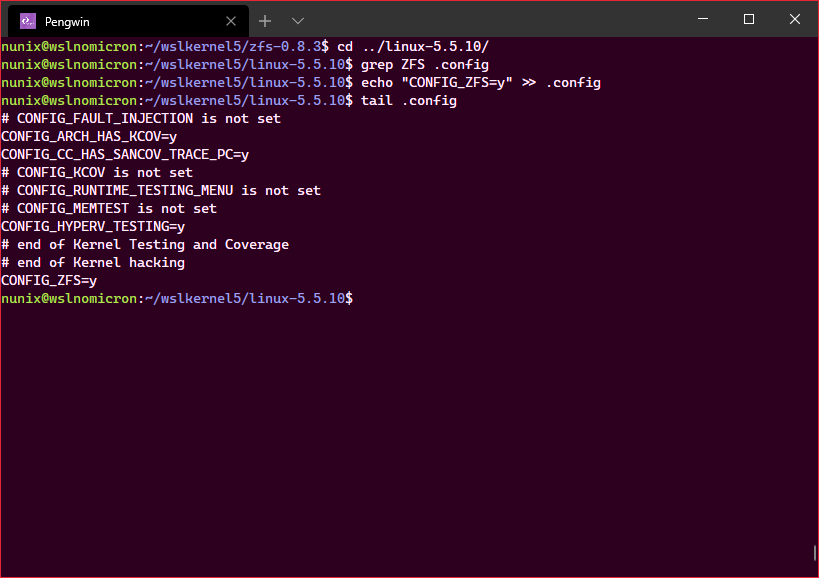
# Enter the kernel directory
cd ../linux-5.5.10/
# Check if a ZFS reference already exist in the config file
grep ZFS .config
# Add the ZFS reference to the end of the config file
echo "CONFIG_ZFS=y" >> .config
# Confirm it has been correctly added
tail .config
Finally, the time is here to take a pause to build the kernel:
# As we have a .config file, just run make > no need of the KCONFIG as instructed in WSL2 Kernel repo
make
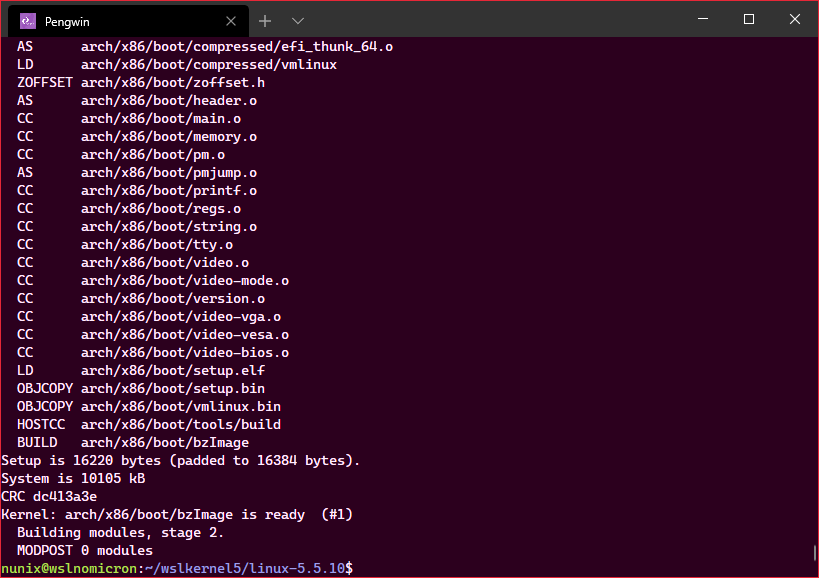
We have now our brand new kernel v5 with the ZFS module embedded.
Before we move on, let’s install the modules:
# Install the modules built with the Kernel
sudo make modules_install
Now the last piece, we need to use it for our WSL2 distros.
WSL2: The future is now
Ok, let’s setup our custom Kernel:
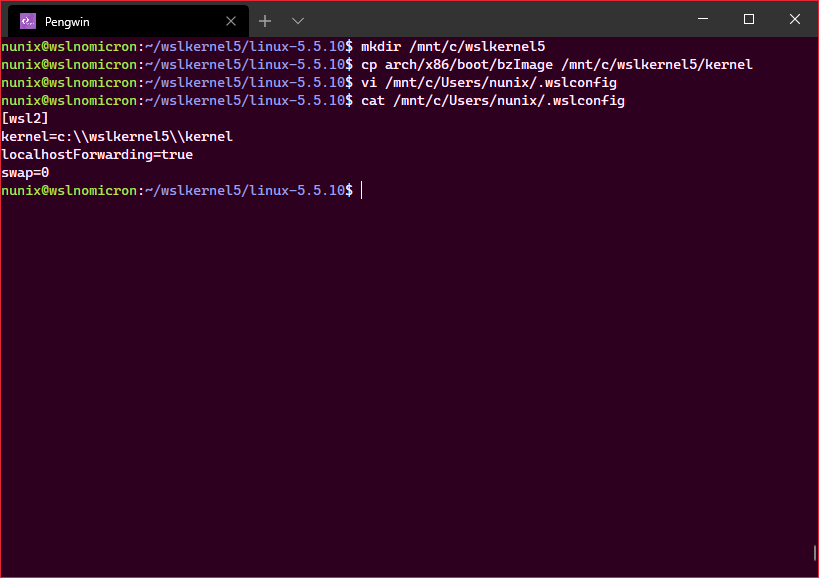
# Create a directory on "Windows" path to store the kernel
mkdir /mnt/c/wslkernel5
# Copy the Kernel file
cp arch/x86/boot/bzImage /mnt/c/wslkernel5/kernel
# Edit the wslconfig file and add the Kernel setting
vi /mnt/c/Users/<username>/.wslconfig
Exit your WSL2 shell and start Powershell as an administrator:
# Shutdown the WSL2 VM
wsl --shutdown
# Restart the LXSS process
Restart-Service LxssManager
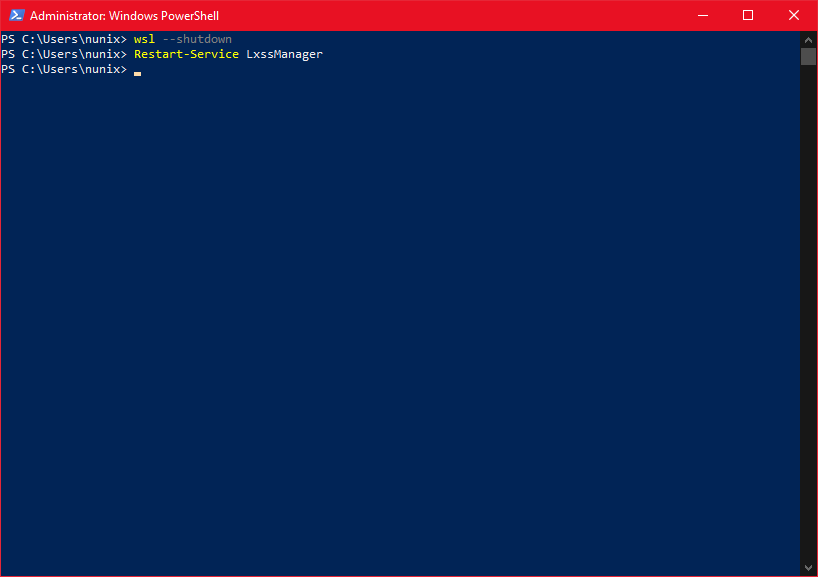
We can finally start again our WSL2 shell and enjoy the new Kernel with ZFS:
# Check the ZFS version installed
zfs version
Conclusion
For the ones still doubting: WSL2 is growing at a (crazy) fast pace. And all the build work was made inside WSL2, without any need of a VM or bare metal Linux.
Having the possibility to use the latest kernel, to had modules is something that some persons might have been looking for, and now it became a reality.
I hope you enjoyed this new gem from the Corsair’s chest and see you soon in the vast Linux Ocean … I simply have different ship.
>>> Nunix out <<<
Bonus: one Kernel to rule them all
oh sorry, you thought I was done? well almost, but I wanted to share one last trick.
As you may know (or not), all the distros installed under your user are running in the same microVM. Therefore the kernel and the ZFS module are also available to all the distros.
So, for all my Arch (based) distro loving friends:
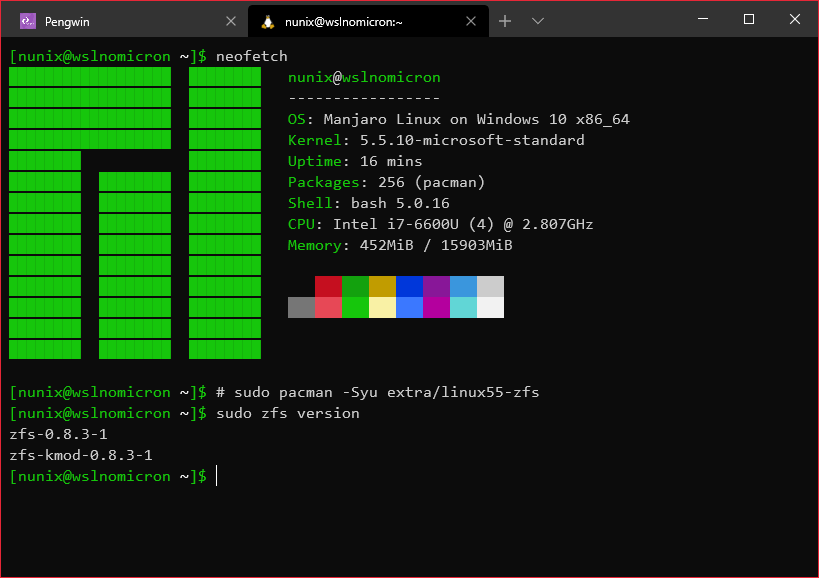
Enjoy :)